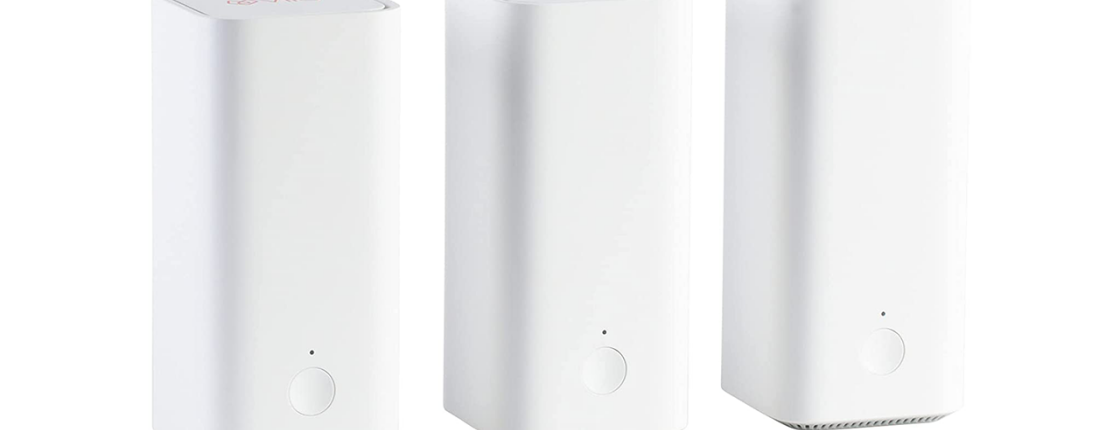
In the dynamic world of technology, having a reliable and efficient router is essential for seamless internet connectivity. If you’re a proud owner of a Vilo router, congratulations! This blog post aims to guide you through the setup process, ensuring you make the most of your router’s capabilities. Whether you’re plugging in an Ethernet cord or connecting wirelessly, we’ve got you covered.
Section 1: Setting Up Your Vilo Router – Getting Started
To begin the journey of harnessing the power of your Vilo router, let’s start with the basic setup:
- Unboxing and Inspection:
- Carefully unbox your Vilo router and inspect the contents. You should find the router itself, a power adapter, and an Ethernet cable.
- Powering Up:
- Plug in your Vilo router using the provided power adapter and turn it on. Wait for the router to fully initialize, which may take a few minutes.
- Connectivity Options:
- Take note of the various ports on your router. For a wired connection, locate the Ethernet port, you can use either of the top two ports.
Section 2: Wired Connection – Where to Plug in the Ethernet Cord
Now that your Vilo router is up and running, let’s explore how to set up a wired connection:
- Locating the Ethernet Port:
- Identify the Ethernet port on your Vilo router. It is typically labeled as “LAN” or “Ethernet.” You may use one of the top two ports.
- Connecting the Ethernet Cord:
- Plug one end of the Ethernet cord into the LAN port on your Vilo router. Connect the other end to the Ethernet port on your device, whether it’s a computer, gaming console, or smart TV.
- Power On Your Device:
- Once the Ethernet cord is securely connected, power on your device. It should automatically detect and connect to the internet.
Section 3: Wireless Connection – Navigating the Wi-Fi Setup
Now, let’s explore the wireless capabilities of your Vilo router:
- Accessing the Router Settings:
- Open a web browser on a device connected to the router and enter the router’s IP address. This is typically found on the router itself or in the user manual.
- Logging In:
- Enter the username and password set up with your CommunityLTE installer. It was changed at the time of your installation for security purposes.
- Configuring Wi-Fi Settings:
- Within the router settings, navigate to the Wi-Fi or Wireless section. Here, you can customize your Wi-Fi network name (SSID) and set a secure password, but we suggest you keep the username and password you chose at the time of your installation.
- Connecting Devices:
- On your devices, search for available Wi-Fi networks. Locate your newly configured network and enter the password when prompted.
Conclusion:
Congratulations! You’ve successfully set up your Vilo router for both wired and wireless connections. By following these simple steps, you can now enjoy a fast and reliable internet connection throughout your home. If you encounter any issues or have further questions, refer to the user manual or call CommunityLTE customer support at 520-900-1910 for assistance. Happy browsing!

